
Electrical Fixture Installation

Categories of Fixtures and Their Applications

Residential Fixtures: Used in homes and apartments, these include decorative lighting, bathroom and kitchen installations, smart thermostats, and ventilation fans.

Commercial Fixtures: Utilized in offices, retail spaces, hospitals, and hotels. These involve heavy-duty lighting, automatic faucets, commercial-grade sinks, and surveillance equipment.

Industrial Fixtures: Designed for warehouses, manufacturing plants, and laboratories, including high-capacity light fixtures, chemical-resistant sinks, and fire safety installations.

Each environment has specific codes and design requirements that influence fixture choice and installation techniques.

Before a single tool is picked up, extensive planning must occur:

  • Blueprint Analysis: Review floor plans and MEP (mechanical, electrical, plumbing) diagrams.
  • Load-Bearing Considerations: Determine structural capabilities for ceiling-mounted or wall-mounted fixtures.
  • Utility Mapping: Trace electrical wiring, water supply lines, and drainage systems.
  • User Requirements: Align fixture placement with functional and ergonomic needs.
  • Design Consistency: Ensure finishes and styles match the interior design.

Tools and Materials Checklist for Fixture Installation

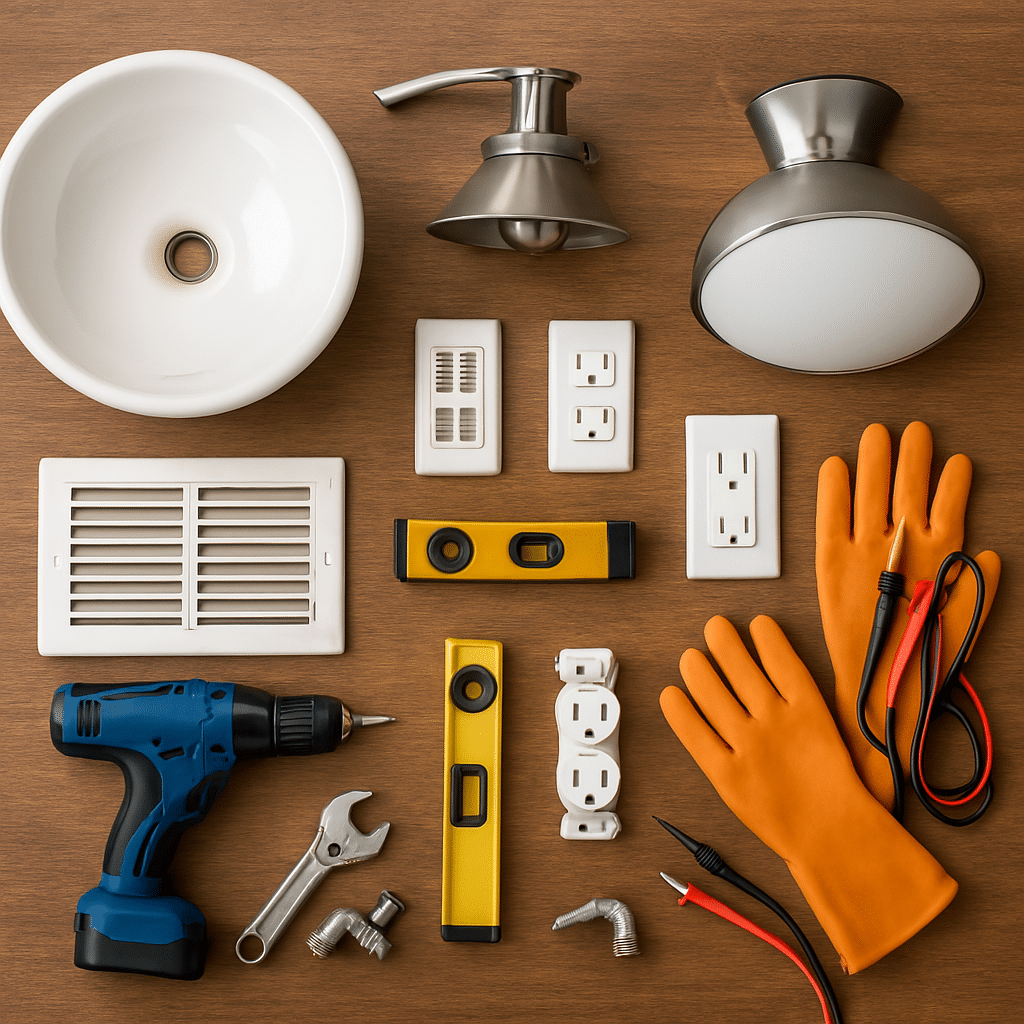
A robust toolkit ensures efficiency, accuracy, and safety during installation:

Electrical Tools:

  • Multimeter
  • Circuit tester
  • Wire cutter/stripper
  • Electrical fish tape
  • Junction boxes and wire nuts

Construction Tools:

  • Power drill and bits
  • Stud finder
  • Level and plumb bob
  • Ladder and scaffolding (for high installations)
  • Safety goggles, gloves, masks
Fixture installation

Comprehensive Installation Process (General Framework)

  • Power or water shut-off
  • Space measurement and template marking
  • Fixture unpacking and inspection
  • Sub-surface preparation (wall plates, brackets, water stubs)
  • Wiring or plumbing connection
  • Fixture mounting and alignment
  • Sealant or caulk application (where applicable)
  • Final tightening and securing
  • Operational testing
  • Clean-up and debris removal

Electrical Fixture Installation (Advanced Guide)

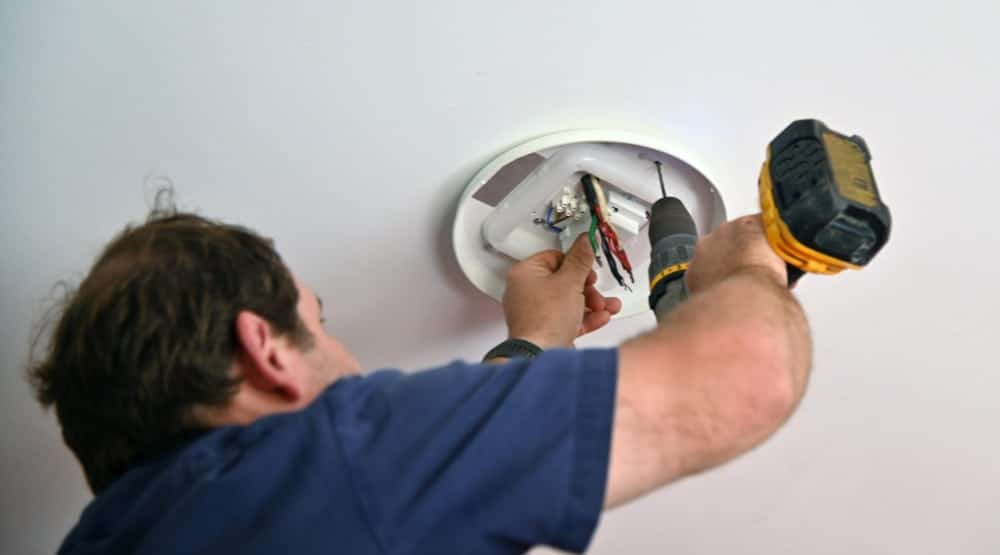
Detailed steps for a ceiling light or fan:

  • Shut off breaker and label circuit
  • Confirm absence of voltage using a multimeter
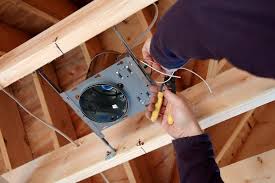
  • Prepare box by securing crossbar bracket
  • Connect ground (green/bare to box ground), neutral (white to white), and hot (black to black)
  • Support fixture during wiring using a helper or hook
  • Tighten screws and install shade or blades
  • Reenergize circuit and verify operation

Wall, Ceiling, and Structural Fixtures

Heavy or large fixtures require special attention:
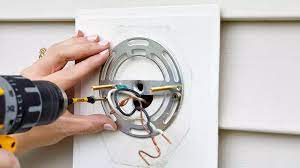
  • Use toggles, molly bolts, or lag bolts for drywall or concrete
  • Reinforce mounting points with plywood or framing
  • Pre-drill pilot holes
  • Use laser levels for precise alignment
  • Ensure load capacity does not exceed manufacturer recommendations
  •  
Electrical Fixture Installation

Safety Standards and Regulatory Guidelines

  • Only certified products should be used (UL-listed, CSA-approved, etc.)
  • Follow OSHA standards for construction environments
  • Always use GFCI (Ground Fault Circuit Interrupters) in wet areas
  • Ventilate during adhesive or sealant use
  • Isolate work zone from other trades during installation

Common Installation Challenges and Expert Solutions

  • Uneven Walls: Use shims or adjust brackets.
  • Faulty Wiring: Rewire junction box and use continuity testers.
  • Leaking Connections: Disassemble, reseal threads, and retighten.
  • Incorrect Mounting Height: Recalculate standard heights: 30–36″ above counters for lights, 18–20″ for towel bars.

DIY Fixture Installation: Pros, Cons, and Techniques

Advantages:

  • Cost-effective
  • Schedule flexibility
  • Satisfaction from self-reliance

Disadvantages:

  • Safety risk
  • Limited tools and experience
  • Code violations

Techniques:

  • Always document wiring before disassembly
  • Use labeled bags for screws and parts
  • Follow instructional videos from verified sources

When and Why to Hire a Professional

Involves structural modification

Requires electrical panel upgrades

High-end or smart fixtures

Plumbing rerouting or drain system modification

Warranty or insurance coverage depends on professional installation
Electrical Fixture Installation

 Maintenance Protocols for Long-Term Performance

  • Monthly cleaning of exposed surfaces
  • Annual tightening of mounting hardware
  • Periodic replacement of seals and gaskets
  • Inspect electrical connections every 3–5 years
  • Replace outdated fixtures with energy-efficient models

Troubleshooting Malfunctioning Fixtures

  • Flickering lights: Check for loose wires, switch faults
  • Low water pressure: Clean aerators, inspect shut-off valves
  • Wobbling ceiling fans: Balance blades and check mounting bracket
  • Persistent leaks: Replace washers, tighten fittings

Sustainable and Energy-Efficient Fixture Options

  • LED lighting fixtures with low wattage consumption
  • Low-flow faucets and showerheads
  • Dual-flush toilets
  • Smart home systems for automated control and monitoring
  • Materials: Recycled metal, glass, sustainable wood

Innovations in Fixture Design and Smart Home Integration

    • Touchless faucets with motion sensors
    • App-controlled lighting and fan systems
    • Voice-activated smart fixtures (Alexa, Google Assistant)
    • Integrated lighting with HVAC sensors
    • Modular fixture designs for easy upgrades
  • Always follow NEC (National Electrical Code) or local code standards.

  • Use appropriately rated circuit breakers and fuses.

  • Label circuits clearly.

  • Avoid overloading circuits or using undersized wires.

  • Ensure all connections are insulated and secured.